Here is a killer VW Drag Bus done with a combination of flames and colors which cant be matched! First run mask designs plus loose mask airbrushed ghost flames! This is a ONE OF ONE creation with candy and pearl colors faded together seamlessly. The multilayer flames ghost out and the candy.fade flames glow with color.
Want to own it before it hits the store? Hit me up!
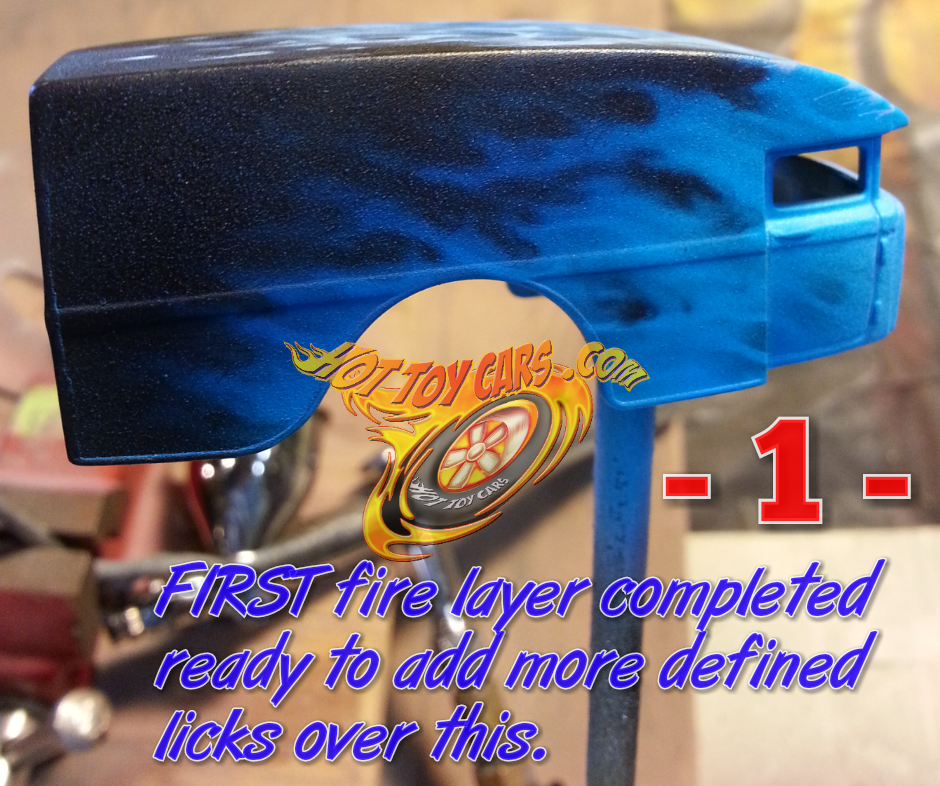
How about a rare peek at my Blue Blazes FIRE technique??
Ok…you got it! lol STEP 1 ~ loose fire added and coated with candy blue. This layer is the first one and is eventually going to be more of a glow or background when subsequent layers are applied. So it is done loosely, mostly freehand with the nozzle of the airbrush tilted at a 45 degree angle, blowing towards the rear of the casting.
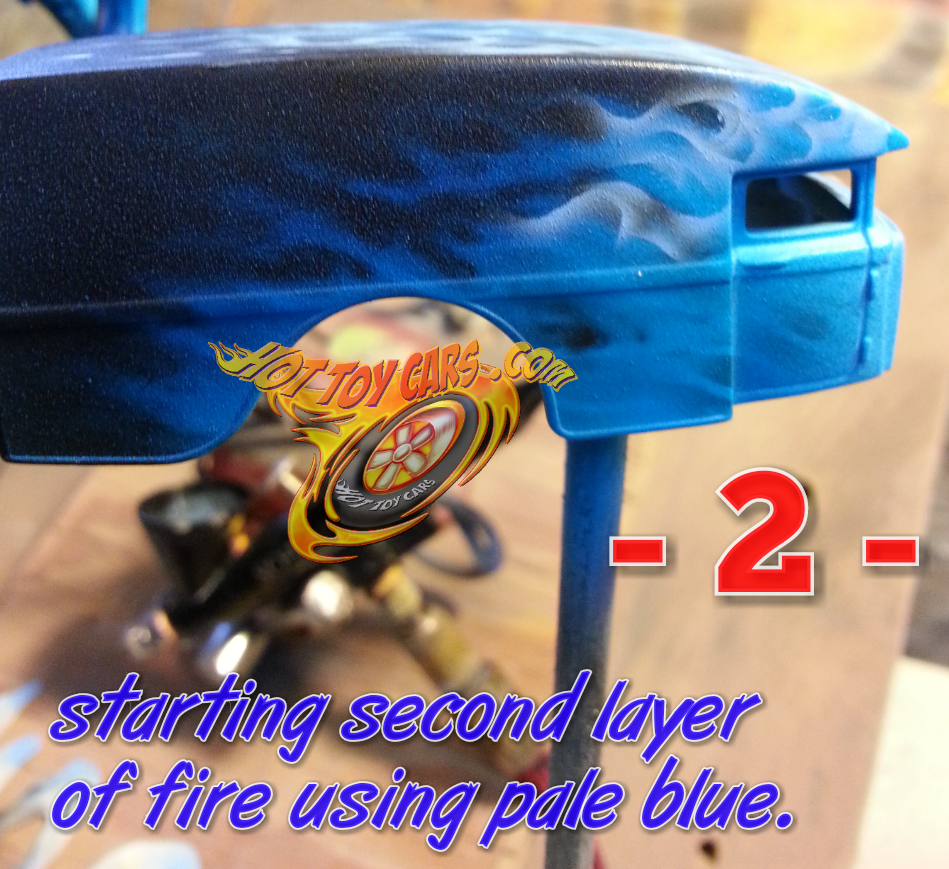
STEP 2 ~ Starting to add tighter, more defined fire licks. Now I begin adding tighter defined licks with a mixture of AutoAir Wicked detail White, Transparent Base and High Performance reducer. Its almost a milky looking liquid. 2 drops of Detail Blue wicked is added to the mix when in airbrush. I am using a Badger Sotar for this step and HotDawg stencil from FlameMasks.com to create the fire licks.
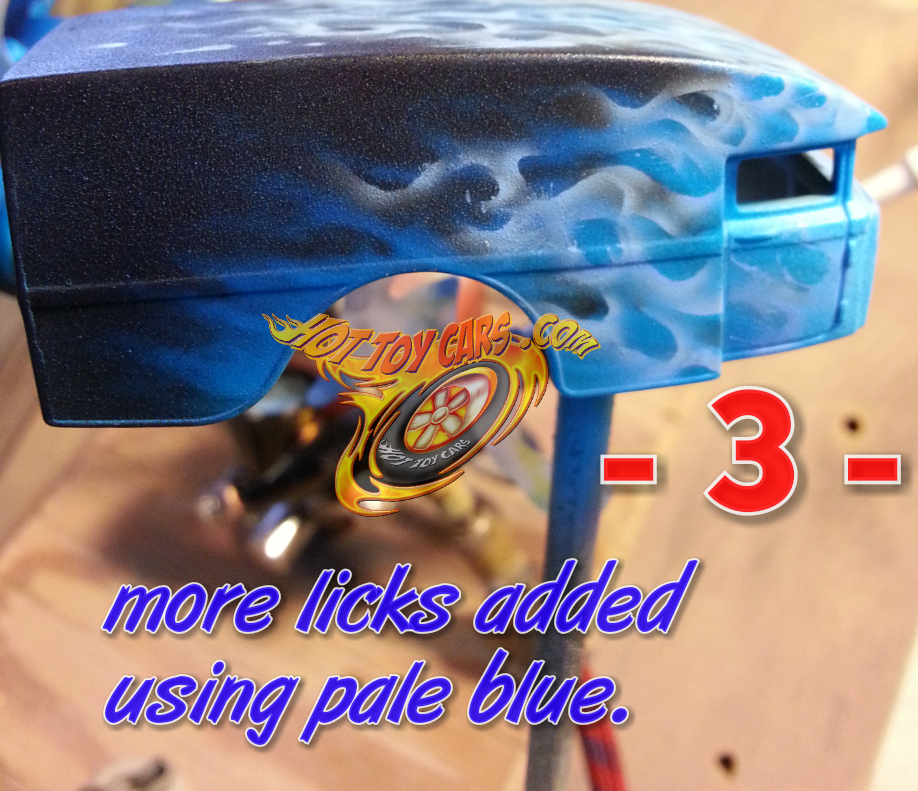
STEP 3 ~ More licks added. Adding more fire licks. Notice these licks generally are inside the confines of the first layer but do not follow it completely. The first layer also acts as a “road map” of where the fire will go on in subsequent layers..
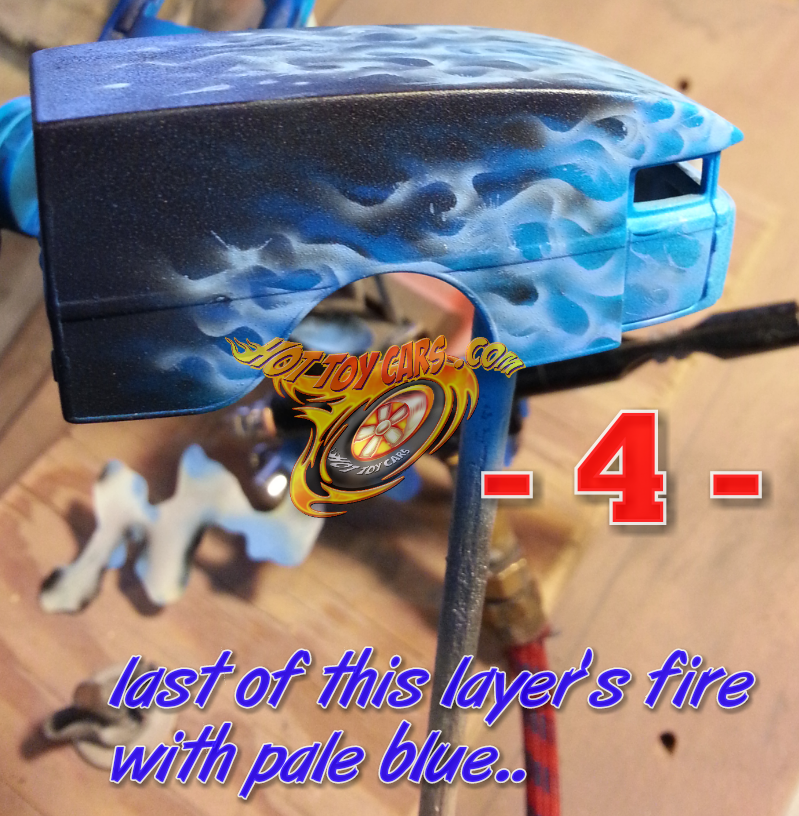
STEP 4 ~ Fire licks of layer 2 are completed. And the last of this layers fire licks are done. Notice these licks while more defined than the previous layer, are still a bit wide and loose. This is how each layer should progress. Each layer becoming tighter and more defined than the last while still not following the same paths exactly.
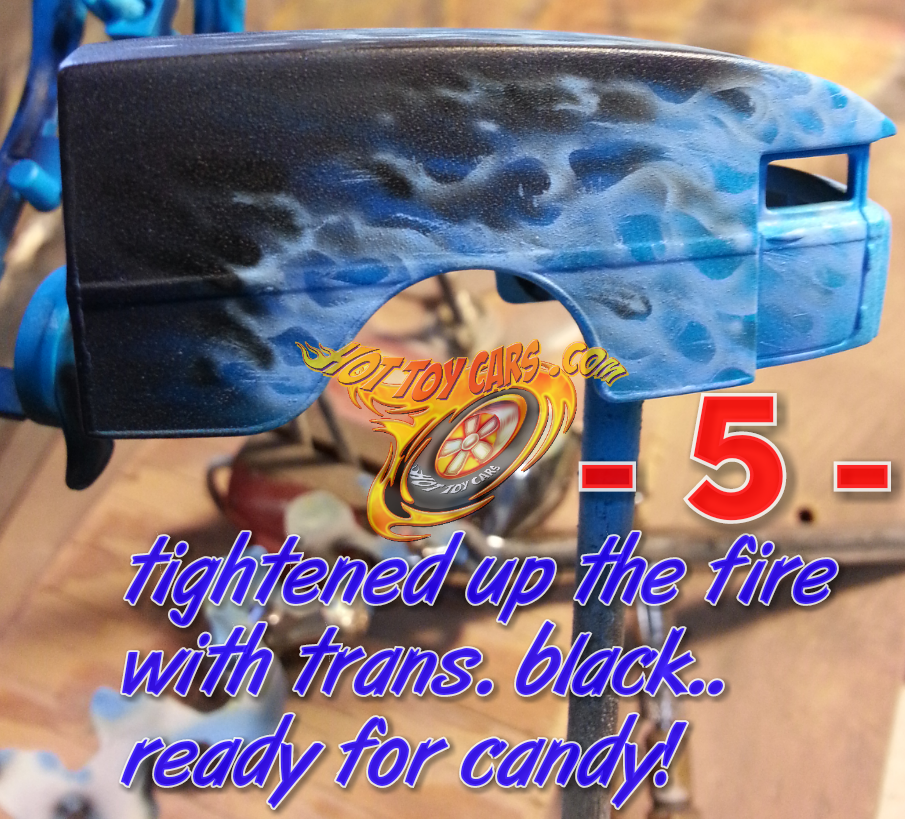
STEP 5 ~ Erasing and defining the licks. I used a trans parent black to define and “erase” unwanted licks or areas of the 2nd layer fire licks. This should be done with care.
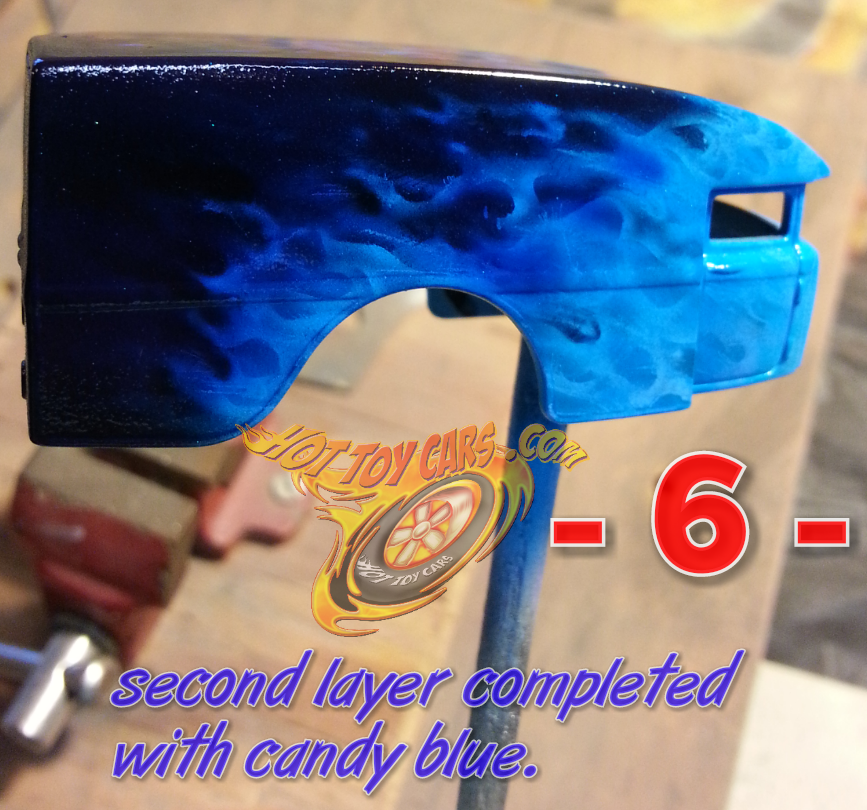
STEP 6 ~ 2nd Layer completed with a few coats of candy blue. This is the final step for the second layer of fire. Candy blue is applied in several light layers fading from dark to very light towards the front. More layers of candy are applied at the rear than the front, creating a fade in the color.
More layers will be added (usually about 5 to 6 total} after this. Each getting more and more defined than the previous layers. The final two layers should be adding a lot less new licks, but rather add to existing licks. Thise should be small areas where the fire would be the most “hot” if it were really burning. In the last couple layers, remember the old saying “Less..is MORE.”
Well I’m not quite done with it yet, but thought I’d give you a peek at the stretch merc. She has some semi ghosty tribal flames freshly designed I might add! Pearl and chrome base coats for the candy tangerine, red, to purple fade.
I have some ideas for a layer or two of candy pagan gold flames …we will see. But for now..I’ve got some pretty colors to build upon!
More soon 🙂
Well I just couldnt wait any longer to show this one off! Plus I just finished up the very detailed custom chassis..lol
The bus (except the BadBat logo on top.) Is ALL PAINT! One of one…candy blue and pearl blue two tone with custom mixed pearl silver flames. Also you might notice the side flames are shadowed which is also hand painted. Top is same design as the regular editions but is done with custom mixed silver pearl with fade and details to tribal bat of light charcoal. This is also the only bus in the series with vw logo on nose.
The chassis….well first it was HEAVILY POLISHED. The large exhaust brace was chopped up leaving a much smaller realistic brace. Notice you can see through all the way at rear of engine. This left an unsightly gap which was filled with epoxy and molded/sanded to the contours of the transmission housing. Looks much better! All three exhausts were drilled out and polished. Details abound on engine and chassis. Plus its riding on blue chrome 5sp.wheels, with silver stripe real riders…leveled..to lowest possible height and fronts narrowed (chassis) to ride inside body. Coming soon!
Here is the next one in line. Only the second one of these I’ve done. Subtle fade on the multilayer flames. And equally subtle is the candy coated blue pearl two tone. With a thin painted stripe dividing the colors. Rolling effortlessly on dub city and big time muscle five spokes. Coming up for sale soon!