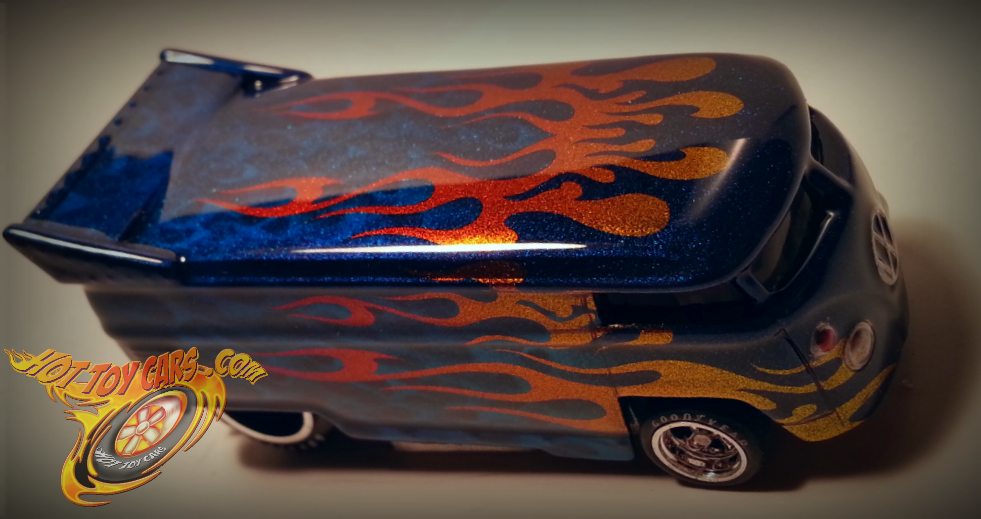
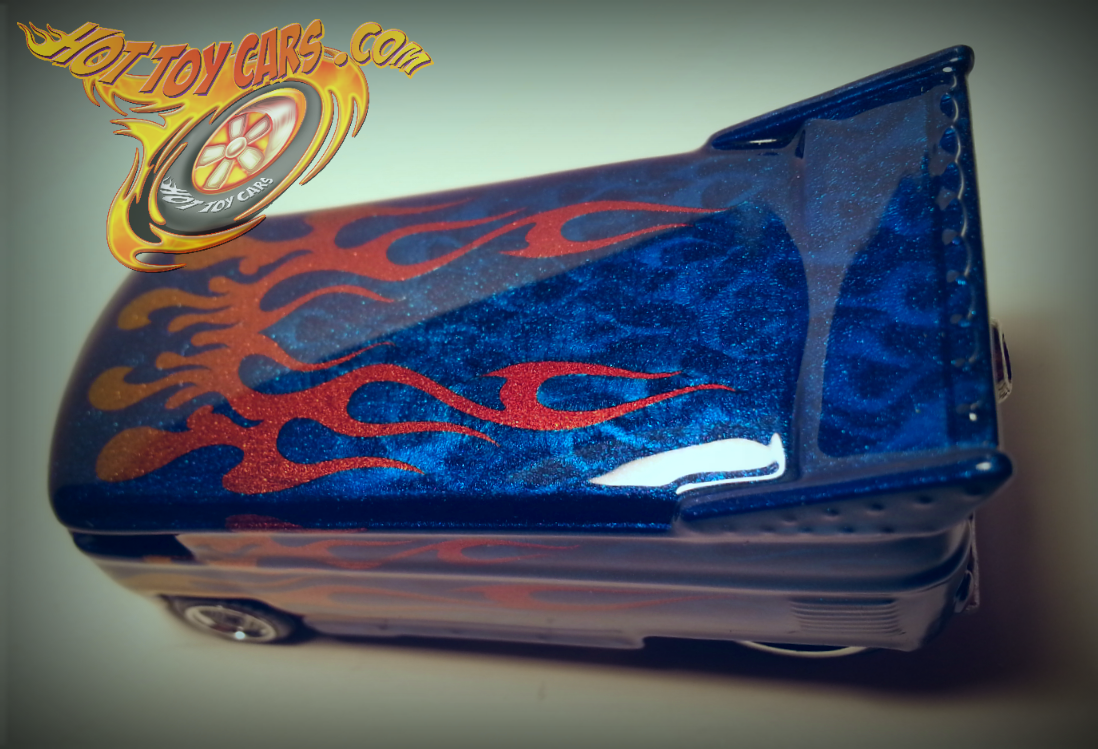
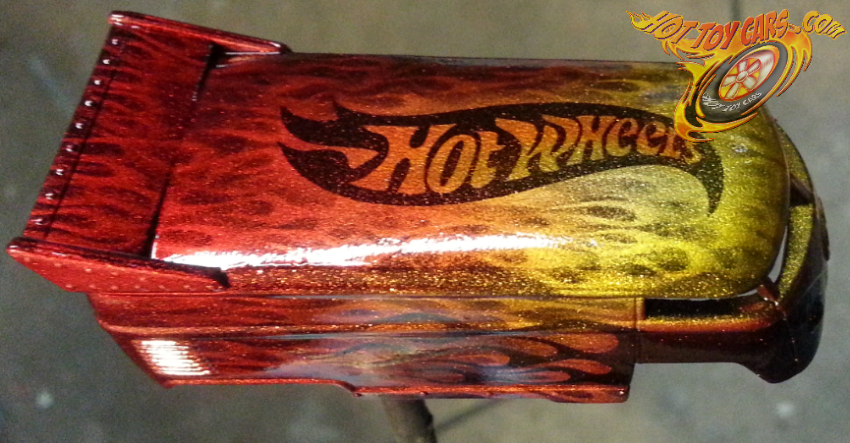
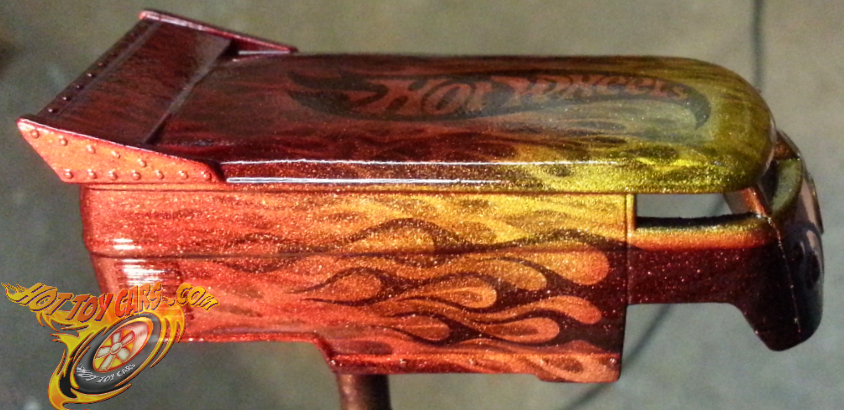
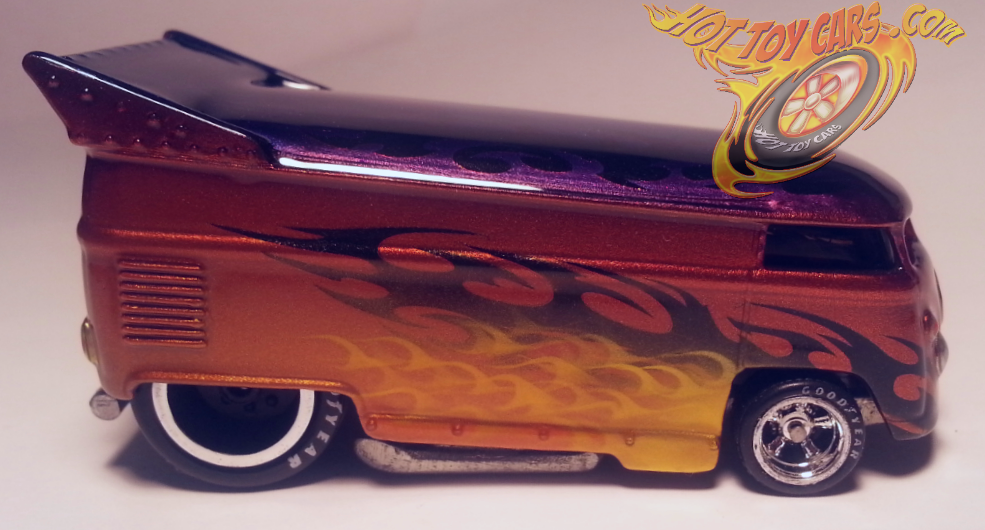
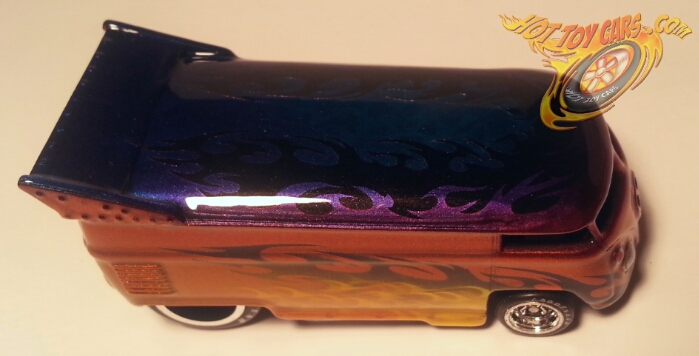
Here is a killer VW Drag Bus done with a combination of flames and colors which cant be matched! First run mask designs plus loose mask airbrushed ghost flames! This is a ONE OF ONE creation with candy and pearl colors faded together seamlessly. The multilayer flames ghost out and the candy.fade flames glow with color.
Want to own it before it hits the store? Hit me up!
Tag Archives: airbrush
First flame layer on Thunder buses-wip
FINALLY!!
GEEZ…didnt think I was ever gonna get a chance to work on these again!
Between health issues and car stranding me then subsequent diagnosis/repair that have been plaguing me recently…I just did not know if I would make headway on these again. But here is a rare shot of the first flame licks. Now keep in mind, everything under the masked areas will be black. Ive lightly sprayed a custom pearl blue over the top then added first flames in custom medium metallic grey. Next layer will be brighter silver or chrome. Then I’ll unmask and coat with candy blue…or thats the plan right now.
Have to work in the wee hours because of the heat here lately too. But..thats the least of the hurdles of late.
Anyway..enough whining..lol..more painting!
Hope to have these and more done this week..we will see!
Mutlilayer Candy Flamed Hot Wheels logo -2 tone- VW Drag Bus…wip
Peek! – SpectraFlame blue Passion..Candy Flamed!
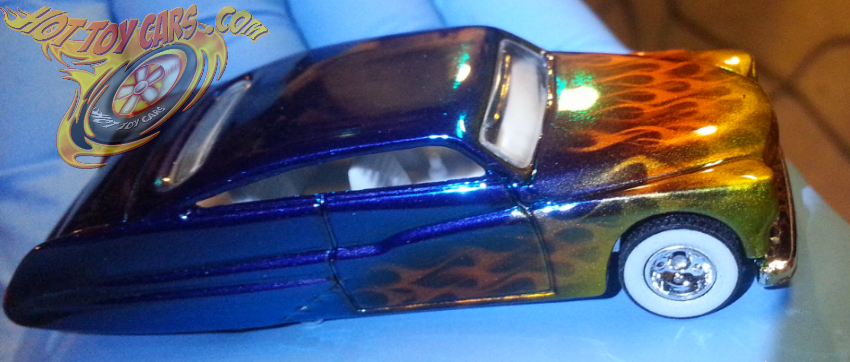
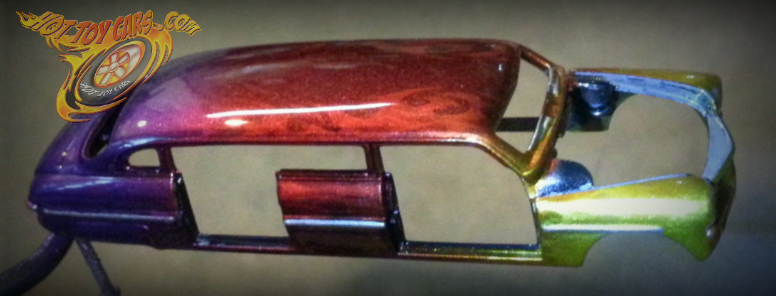
Stretched Merc..in process..post clear stage!
Here’s a peek at the stretched merc coming up. This is post clear stage as all moving panels had to be removed or risk bridging gaps…which is not a good thing! So now…the task of sanding/polishing begins. Followed by assembly. Im looking at several days before its done…but…with any luck and no sand thru incidents…she will be ready sometime, late, this coming weekend. Stay tuned!!
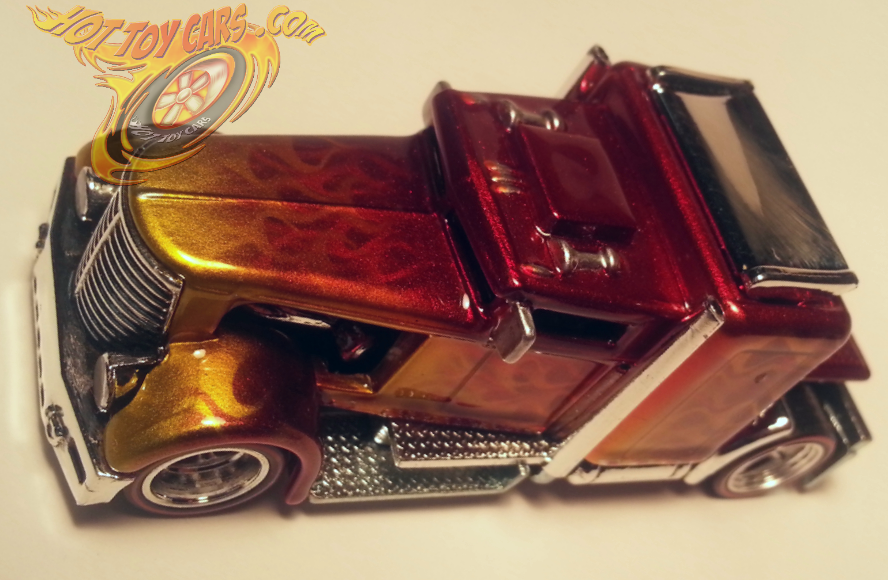
Candy Flamed Custom Convoy!
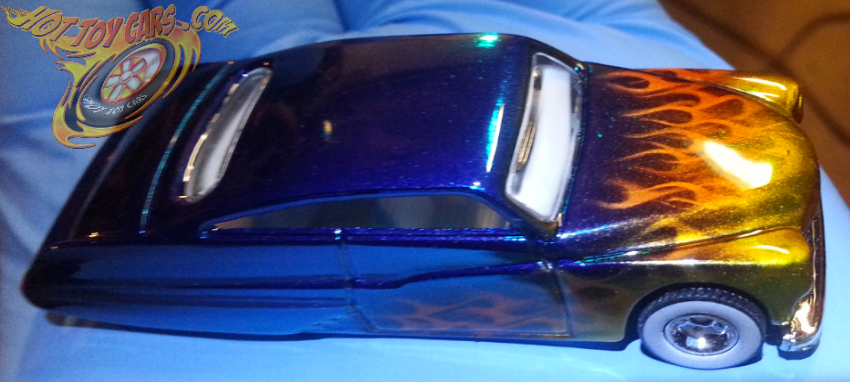
Orange fade bus with tribals and Dark Purple/blue top!
This beauty has several subtle fades with multiple colors and layers of candy and pearl colors. Tribal flames on top, nose, and sides. Multilayer candy pagan gold traditional flames on lower sides. One of one with detailed lights and logo. RRs up front with sanded tread rears. All with white letter Goodyears!
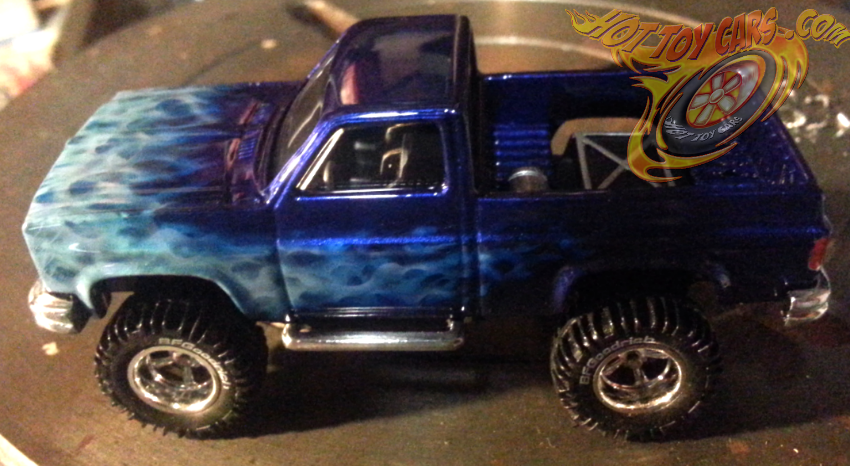
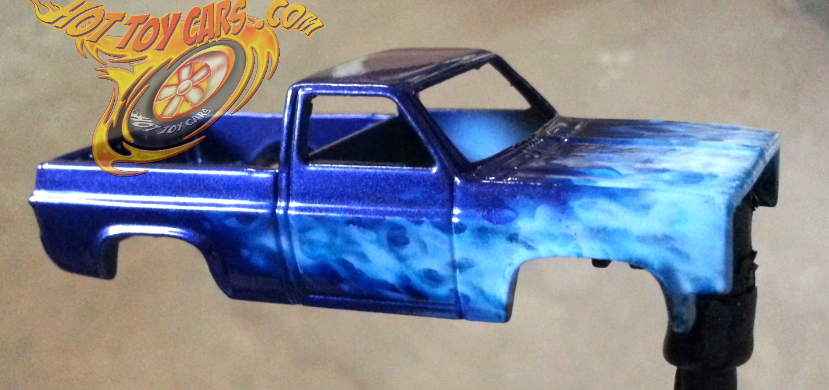
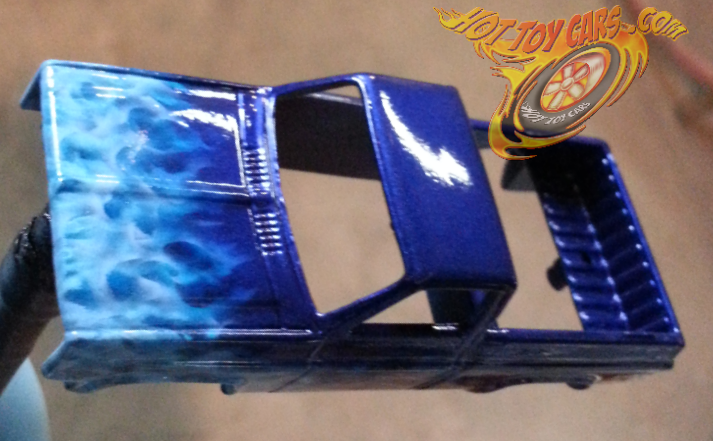
Blue Blazes Silverado 4×4 – DONE!
Final Peek…Blue Blazes 4×4 Silverado
Process Shots : Blue Blazes FIRE!!
How about a rare peek at my Blue Blazes FIRE technique??
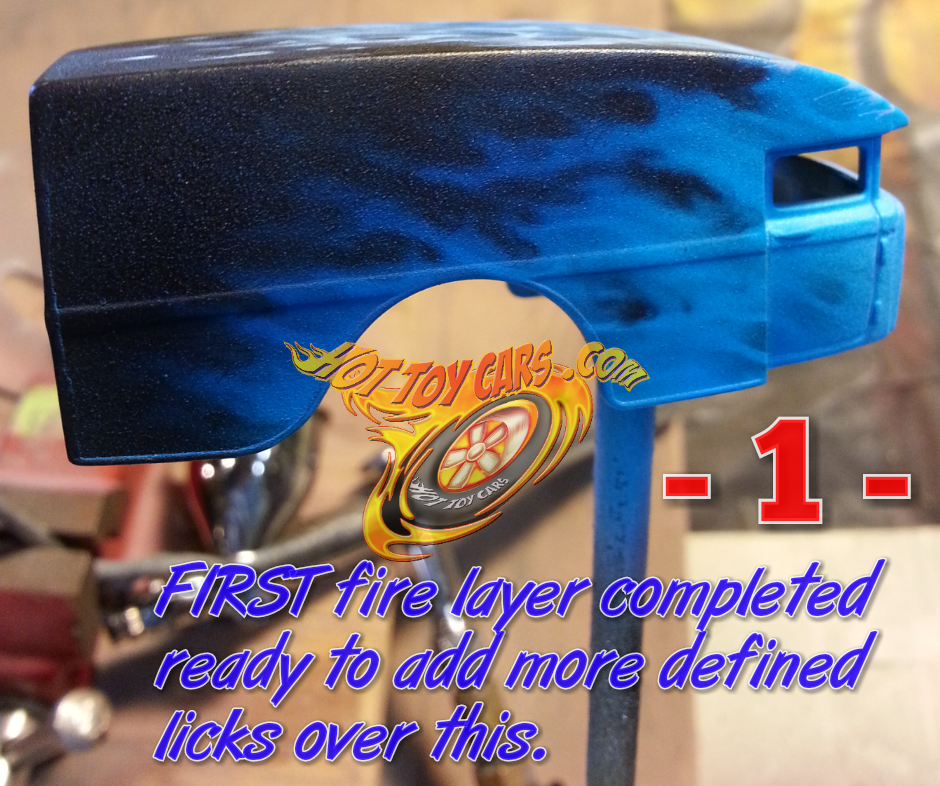
STEP 1 ~ loose fire added and coated with candy blue.
 This layer is the first one and is eventually going to be more of a glow or background when subsequent layers are applied. So it is done loosely, mostly freehand with the nozzle of the airbrush tilted at a 45 degree angle, blowing towards the rear of the casting.
 Now I begin adding tighter defined licks with a mixture of AutoAir Wicked detail White, Transparent Base and High Performance reducer. Its almost a milky looking liquid. 2 drops of Detail Blue wicked is added to the mix when in airbrush. I am using a Badger Sotar for this step and HotDawg stencil from FlameMasks.com to create the fire licks.
 Adding more fire licks. Notice these licks generally are inside the confines of the first layer but do not follow it completely. The first layer also acts as a “road map” of where the fire will go on in subsequent layers..
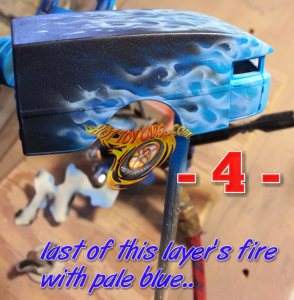 And the last of this layers fire licks are done. Notice these licks while more defined than the previous layer, are still a bit wide and loose. This is how each layer should progress. Each layer becoming tighter and more defined than the last while still not following the same paths exactly.
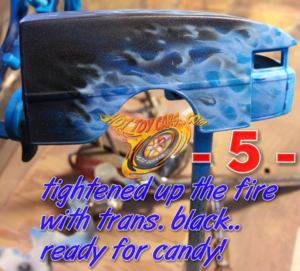 I used a trans parent black to define and “erase” unwanted licks or areas of the 2nd layer fire licks. This should be done with care.
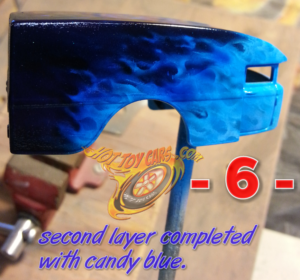 This is the final step for the second layer of fire. Candy blue is applied in several light layers fading from dark to very light towards the front. More layers of candy are applied at the rear than the front, creating a fade in the color.
More layers will be added (usually about 5 to 6 total} after this. Each getting more and more defined than the previous layers. The final two layers should be adding a lot less new licks, but rather add to existing licks. Thise should be small areas where the fire would be the most “hot” if it were really burning. In the last couple layers, remember the old saying “Less..is MORE.”

