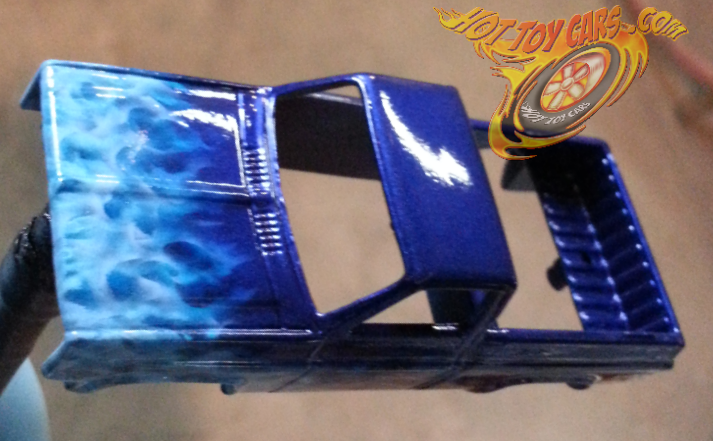
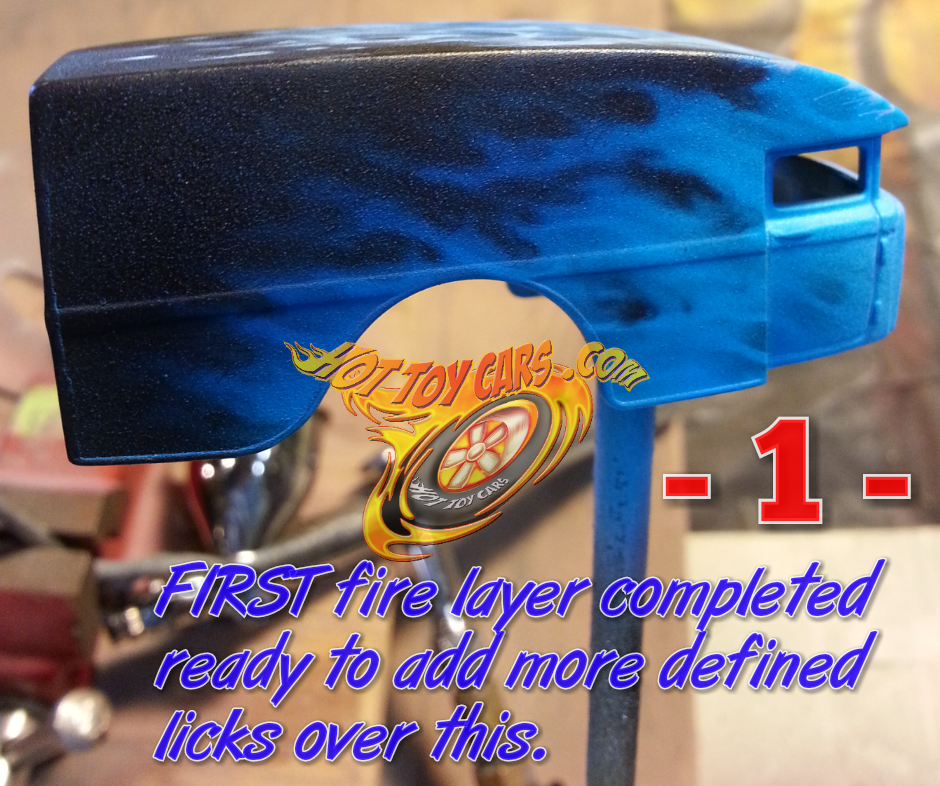
New joint venture from Dino of LB Customz and myself!! I put together some unique designs inspired by one of my fave Saturday Morning cartoons from the 70s…the Groovie Goolies!!!!
Dino is laying down some killer Pearl Purple and hand details, Real Riders and custom Acrylic Display case!!!
Pre Sale only!!!
Tag Archives: detail
Drag Dairy aged metal plus Hot Pink flames!
 This one is rare indeed! One of one creation to say the least!
It started as one of my realistic faux paint textures. The effect done using four different colors of paints from chrome to black with some pearl silver and galaxy grey layered in and over each other, while using several techniques like dry brushing and literal scrapes…to eventually get a believable look of aged metal. But…again….its all paint!!
Then I needed something that would contrast this aged metal patina and thought what would be a more stark contrast than HOT PINK!!? Thus the side flames were born from a two stage custom mix of auto air/wicked colors.
I had to leave it at that point because I thought it might be toooooo much of a contrast. But eventually warmed up to the combo.
I thought it might need a little more tho and added some chrome-ish flames on roof and nose!
All lights and chutes detailed as well as the rear windows blacked out.
Chassis features white redline rubber tires! Was disassembled and black washed to bring out more detail and tone done the bright chrome appearance a little. Wheels also black washed. Seat/roll cage pretty much stock except a few well placed exacto cuts to remove parts of the steering wheel and roll cage above driver seat.
Body is removeable. It will also stay attached to chassis when fully closed OR..fully upright position.
The odd mix of colors and patina…really does go well with each other, from body to tires!
Watch for the SALE LINK to be announced soon!!
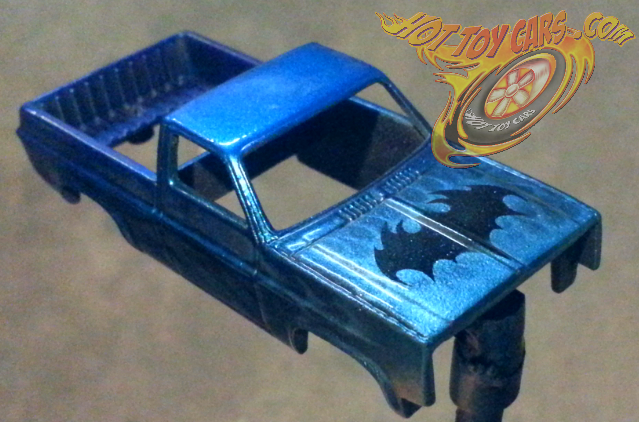
Peeeeek! – Tribal BatTruck!
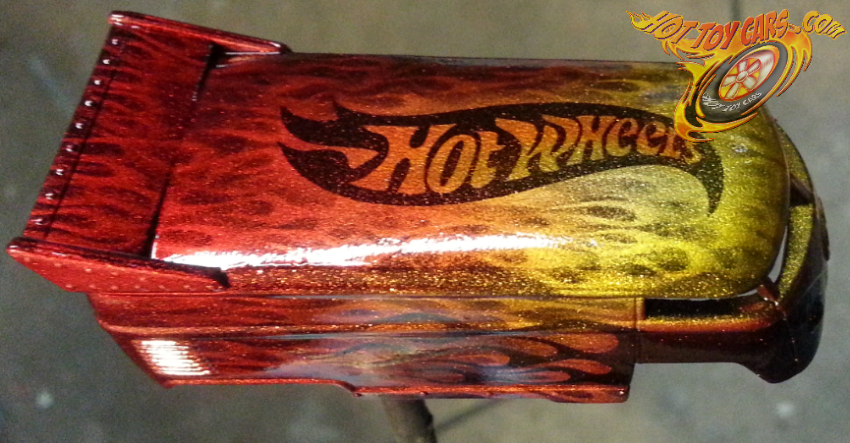
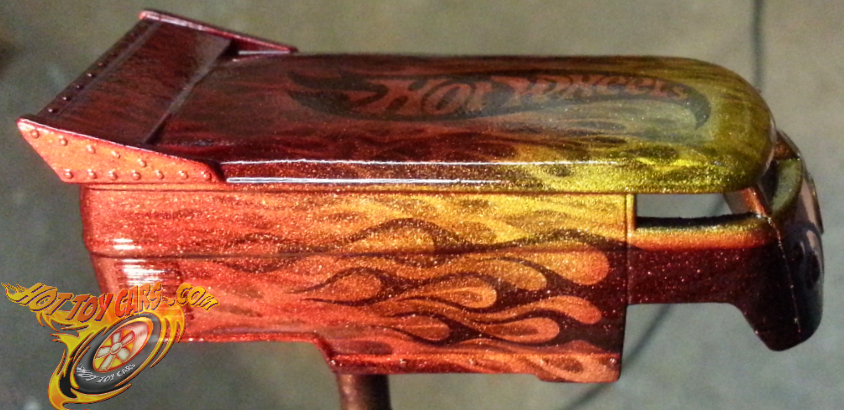
Mutlilayer Candy Flamed Hot Wheels logo -2 tone- VW Drag Bus…wip
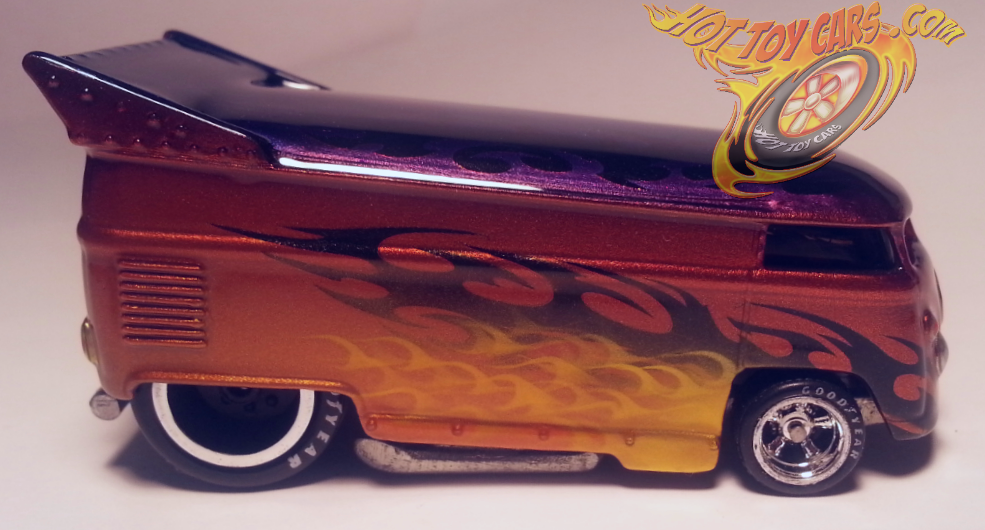
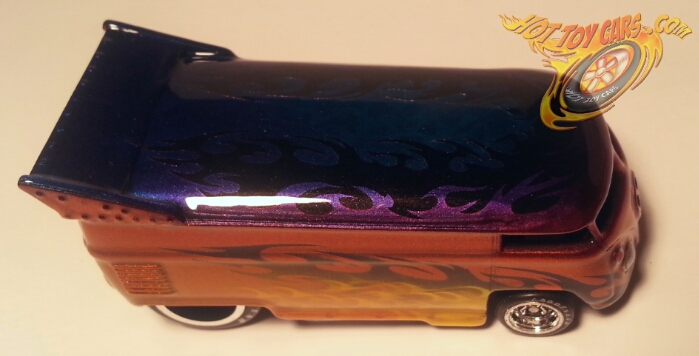
Orange fade bus with tribals and Dark Purple/blue top!
This beauty has several subtle fades with multiple colors and layers of candy and pearl colors. Tribal flames on top, nose, and sides. Multilayer candy pagan gold traditional flames on lower sides. One of one with detailed lights and logo. RRs up front with sanded tread rears. All with white letter Goodyears!
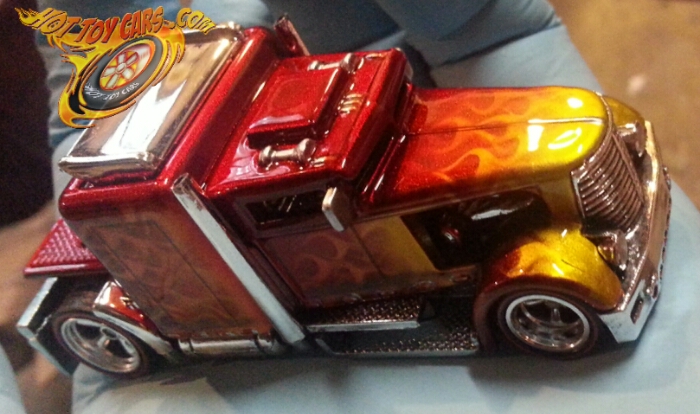
Peeeek! – 1of1 Custom Convoy!
Blue Blazes 4×4 chassis mod and details
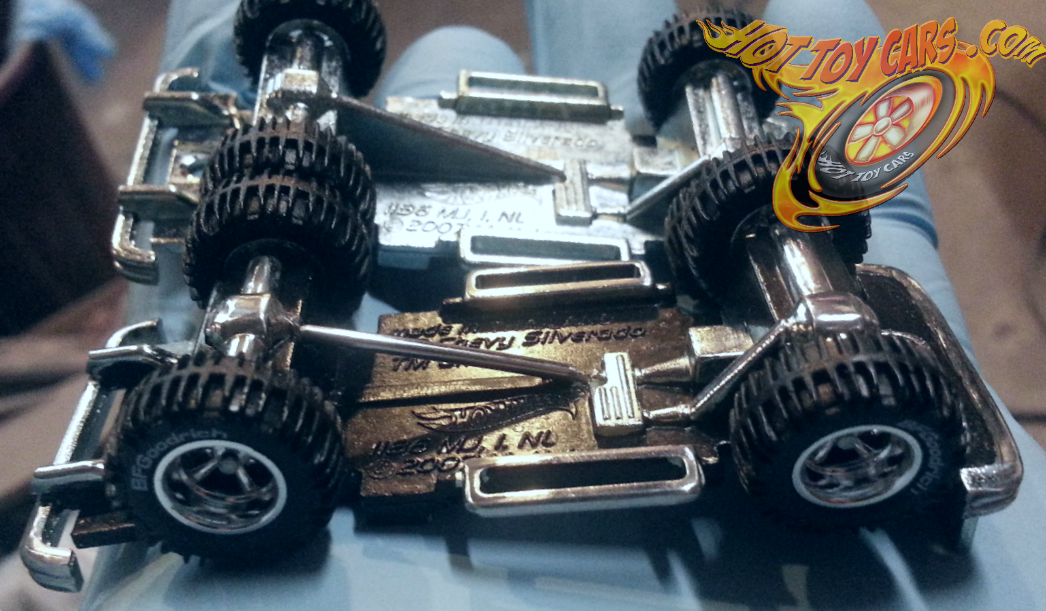
Here is a side by side comparison of a stock silverado 4×4 chassis and the one I’ve just finished for the Blue Blazes edition one of one. Smoothed and polished bumpers, grill, side steps, front and rear axles/differentials, plus hand painted blackout chassis and drilled exhaust tips. Of course the most notable mod is the custom made rear drive shaft! Old solid block style “shaft” was drilled/cut/removed and ground very smooth so as to not catch the eye. Then two holes were drilled in chassis where the drive line should attach. Stainless steel tubing was cut to length and ends beveled/polished. It was then mounted using brass rod in each end. The tension holds the shaft extremely stable but still was given a drop of epoxy for lasting results.
Final Peek…Blue Blazes 4×4 Silverado
Process Shots : Blue Blazes FIRE!!
How about a rare peek at my Blue Blazes FIRE technique??
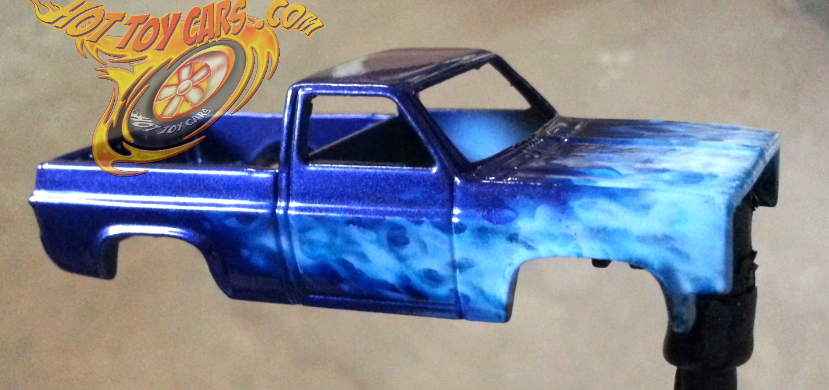
STEP 1 ~ loose fire added and coated with candy blue.
 This layer is the first one and is eventually going to be more of a glow or background when subsequent layers are applied. So it is done loosely, mostly freehand with the nozzle of the airbrush tilted at a 45 degree angle, blowing towards the rear of the casting.
 Now I begin adding tighter defined licks with a mixture of AutoAir Wicked detail White, Transparent Base and High Performance reducer. Its almost a milky looking liquid. 2 drops of Detail Blue wicked is added to the mix when in airbrush. I am using a Badger Sotar for this step and HotDawg stencil from FlameMasks.com to create the fire licks.
 Adding more fire licks. Notice these licks generally are inside the confines of the first layer but do not follow it completely. The first layer also acts as a “road map” of where the fire will go on in subsequent layers..
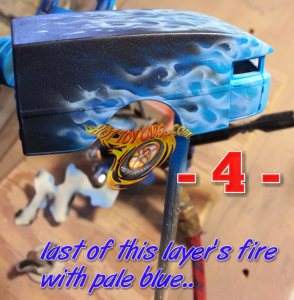 And the last of this layers fire licks are done. Notice these licks while more defined than the previous layer, are still a bit wide and loose. This is how each layer should progress. Each layer becoming tighter and more defined than the last while still not following the same paths exactly.
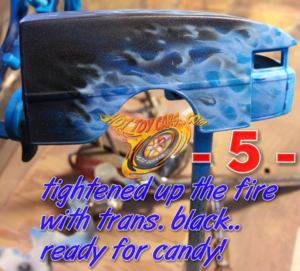 I used a trans parent black to define and “erase” unwanted licks or areas of the 2nd layer fire licks. This should be done with care.
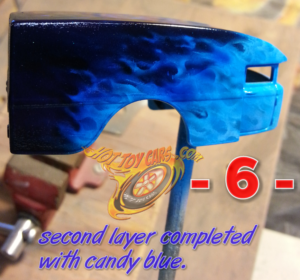 This is the final step for the second layer of fire. Candy blue is applied in several light layers fading from dark to very light towards the front. More layers of candy are applied at the rear than the front, creating a fade in the color.
More layers will be added (usually about 5 to 6 total} after this. Each getting more and more defined than the previous layers. The final two layers should be adding a lot less new licks, but rather add to existing licks. Thise should be small areas where the fire would be the most “hot” if it were really burning. In the last couple layers, remember the old saying “Less..is MORE.”


